The short answer: scan the whole print, flat and in colour, at 600 dpi (1200 dpi for a print smaller than your palm), with every automatic correction turned off, and save it as PNG or TIFF. No scanner? A phone works well if the print lies flat in soft daylight, the flash is off and you hold the phone straight above it.
Restoration can mend a scratch, a fold or a faded corner. It can't bring back detail your copy lost to glare, blur or a heavy-handed auto-enhance, so the few minutes you spend here show in the result.
Scanner or phone?
A flatbed scanner gives the most even light and the straightest copy: use it for the prints you care about most. A phone is quicker and good enough for most snapshots, as long as you control the light.
| Flatbed scanner | Phone | |
|---|---|---|
| Light | Even, never any glare | Depends on the room: daylight, flash off |
| Shape | Flat and square every time | Straight only if held parallel to the print |
| Detail | 600 to 1200 dpi | Plenty, if the print fills the frame |
| Best for | Fragile, faded or important prints | Snapshots, albums you can't take apart |
If you have a box of hundreds, a photo scanning service is worth pricing. For a handful of prints that matter, either of the two above does the job.
Handle the print before you scan it
Old prints are more fragile than they look. In most of them the picture sits in a thin layer of gelatin on the paper, and that layer scratches and lifts easily.
- Clean, dry hands, and hold it by the edges. Nitrile gloves are better still. The oil from a fingertip can leave a print that shows up years later.
- Dust it with a soft brush or a rubber air blower. Never a cloth, water or a cleaning product, which smear or lift the surface, and not canned air, which can spit propellant.
- Clean the scanner glass too. A speck of dust on the glass is one more spot to repair, on every scan you make.
- Don't force a curled print flat. Let the weight of the scanner lid flatten it gently, or photograph it as it is.
Scanner settings that matter
Resolution is the setting people ask about most. Scan small prints at a higher resolution than large ones, so every scan ends up with enough pixels:
| Print size | Scan at | You get about |
|---|---|---|
| Wallet, 2.5 × 3.5 in | 1200 dpi | 3000 × 4200 pixels |
| Standard, 4 × 6 in | 600 dpi | 2400 × 3600 pixels |
| 5 × 7 in and larger | 600 dpi | 3000 × 4200 pixels and up |
Going higher rarely helps: an ordinary print holds only so much detail, and past 600 dpi you mostly capture the texture of the paper. We restore from a copy up to 2,048 pixels on its longest side, so these settings already give more than enough. The extra is for your own archive and for printing large.
The other settings:
- Colour, even for a black and white photo. Choose colour (24-bit, or 48-bit if offered). An old "black and white" print is really tones of brown, grey and yellow, and stains and fading are easier to tell apart from the picture in colour.
- Every automatic correction off. Sharpening, auto-colour, auto-contrast, "restore faded colours" and dust removal all change the picture before the restoration sees it, and they can't be undone afterwards.
- A little beyond the edges. Set the scan area slightly larger than the print, so no corner is cut off. Keep the print a finger's width in from the edge of the glass, where many scanners light less evenly.
- A lossless file to keep. Save your master copy as TIFF or PNG. Upload that, or a high-quality JPEG made from it.
Photographing a print with a phone
- Soft daylight, flash off. Work near a window but out of direct sun; an overcast day is ideal. A flash puts a bright spot exactly where a face is.
- Straight on, phone parallel to the print. Stand over the print rather than tilting the phone. Most camera apps can show a grid or a level to help. A tilted shot turns a rectangle into a trapezoid and leaves one side softer.
- Let the print fill the frame, with a thin margin of table around it. Move the phone closer rather than pinching to zoom.
- No shadow of you or the phone. Keep the window to one side, so you aren't standing between the light and the print.
- Out of the sleeve or frame, if you safely can. Plastic and glass reflect the room. If the print has to stay behind glass, switch off the lights behind you and wear something dark.
- No filters, portrait mode or auto-enhance. Turn off any scene optimiser for these shots. A scanning app that combines several shots can remove the glare from a glossy print, which is worth trying for album pages.
Prints to leave as they are
Some prints are better photographed where they lie than handled:
- Stuck to glass or to each other. Pulling them apart tears the picture layer. Photograph them as they are, or ask a photograph conservator.
- Flaking, cracked or brittle. Pressing them onto scanner glass can break them further. Photograph them flat on a table instead.
- Cased photographs (daguerreotypes, ambrotypes and tintypes in small hinged cases). Don't open the case or touch the surface: a daguerreotype's image can wipe off at a touch. Photograph it through its cover glass.
Before you upload
- The whole photo, damaged edges included. Don't crop away tears or torn corners first: the repair works with what's there, and we never crop your photo.
- No editing first. Leave contrast, colour and sharpness as they are. A pre-edited copy hides exactly the information the restoration needs.
- One photo per file. If an album page holds several prints, make a copy of each.
- Keep your master. We delete our copy of your upload within 24 hours, so your scan is the original. Your restored results stay in your account.
You can upload a JPEG, PNG, WebP or HEIC file. It's shrunk and stripped of location data on your device before it's sent.
Name and keep your scans
A scan that nobody can identify in twenty years is half lost.
- Name the file with what you know.
1952-06-wedding-grandparents.pngsorts by date and says who is in it. - Scan the back too, if it carries a date, a studio stamp or a handwritten name. It's often the only record of who and when.
- Keep three copies in two places: your computer, an external drive and a cloud folder, for example.
What happens to the scan here
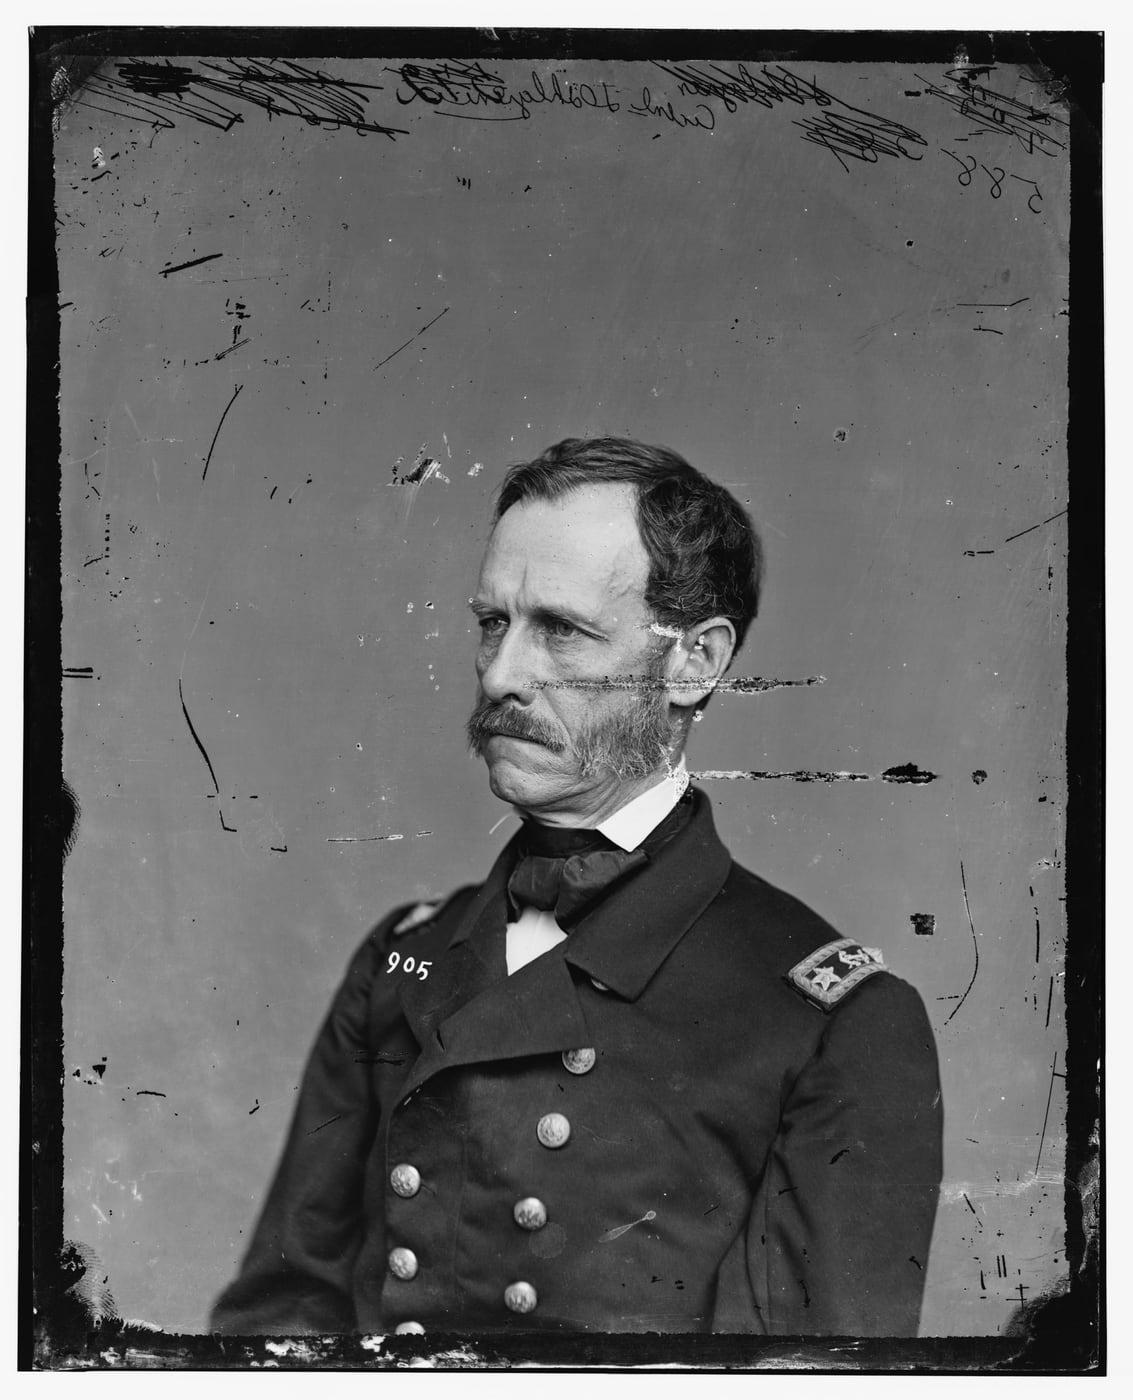
Fig. A · Before
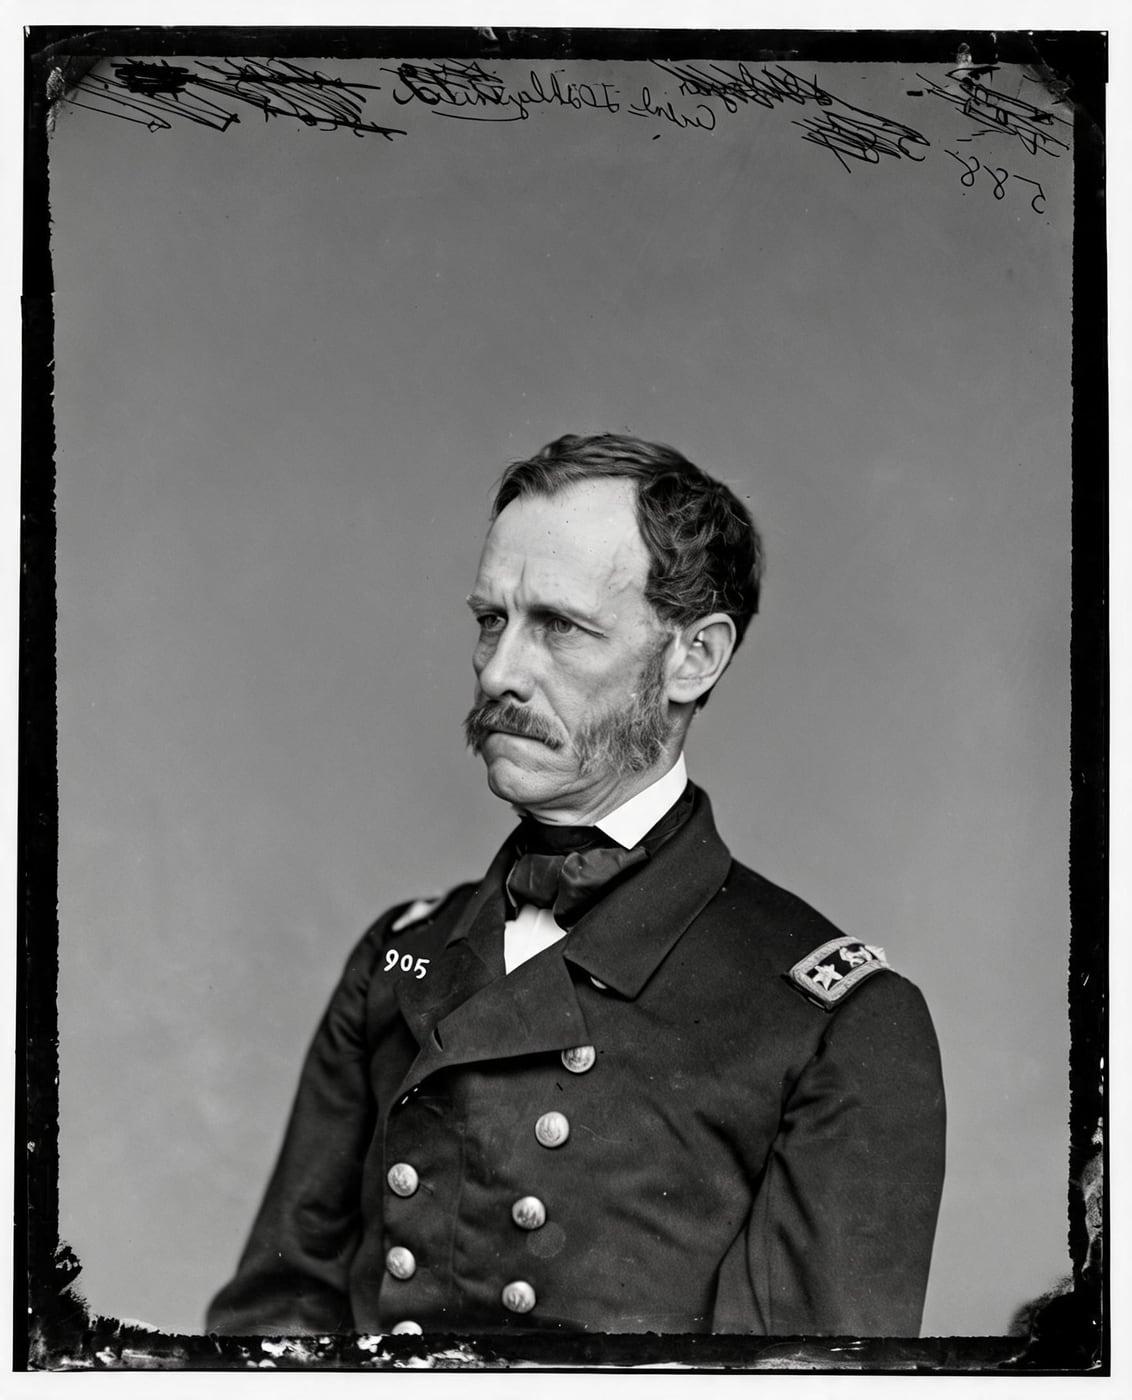
Fig. B · After
Once you upload it, Restore repairs scratches, tears, stains and fading, and checks every result against your scan. If the people in it don't still look like themselves, the result is never shown and you aren't charged for it. From there you can colorize a black and white result, or sharpen and enlarge it up to 4× for a bigger print.
Written by The Restore Old Photos team. We build the restoration tools on this site and write about what they can and can't do.